RFIs, submittals & drawings
Run the information flow with the architect — questions, shop drawings, and live plan markup.
Create an RFI
Open a request for information when you or a sub needs a decision from the architect.
- Open RFIsProject sidebar → RFIs. Summary cards show open, overdue, and urgent counts; the list below is every RFI in the project.
- Click New RFIFill in subject, the question, due date, priority, the right person to answer, and any links to a drawing or commitment.
- Write a specific questionInclude the drawing number, the detail or section, and exactly what decision you need. The architect’s answer is only as good as your question.
- Link the impactIf a late answer blocks schedule, link the affected schedule task — a chip appears on the Gantt so the team sees what is putting pressure on the date.
- Send to the architectThe architect gets an email with a one-click reply link. As soon as they answer, the RFI flips to Answered and a notification lands in your bell.

Create a submittal
Submit shop drawings, product data, or samples to the architect for review.
- Open SubmittalsProject sidebar → Submittals. The list groups by status — Draft, Submitted, In Review, Approved, Approved-as-Noted, Revise & Resubmit.
- Click New submittalPick the type (product data, shop drawing, sample, O&M, closeout) and fill in the spec section, reviewer, and due date.
- Attach the packageDrop in the PDF, cut sheets, or sample photos. Each revision keeps its own attachments for a clean audit trail.
- Link the commitmentLinking the sub’s commitment surfaces this submittal in their drawer alongside their RFIs and pay apps.
- Submit and track dispositionsThe architect gets the package; when they return it, a new revision appears with their stamp and notes, and you get a notification.

Upload a drawing set
Add a PDF set, organize by discipline and revision, and publish to the team.
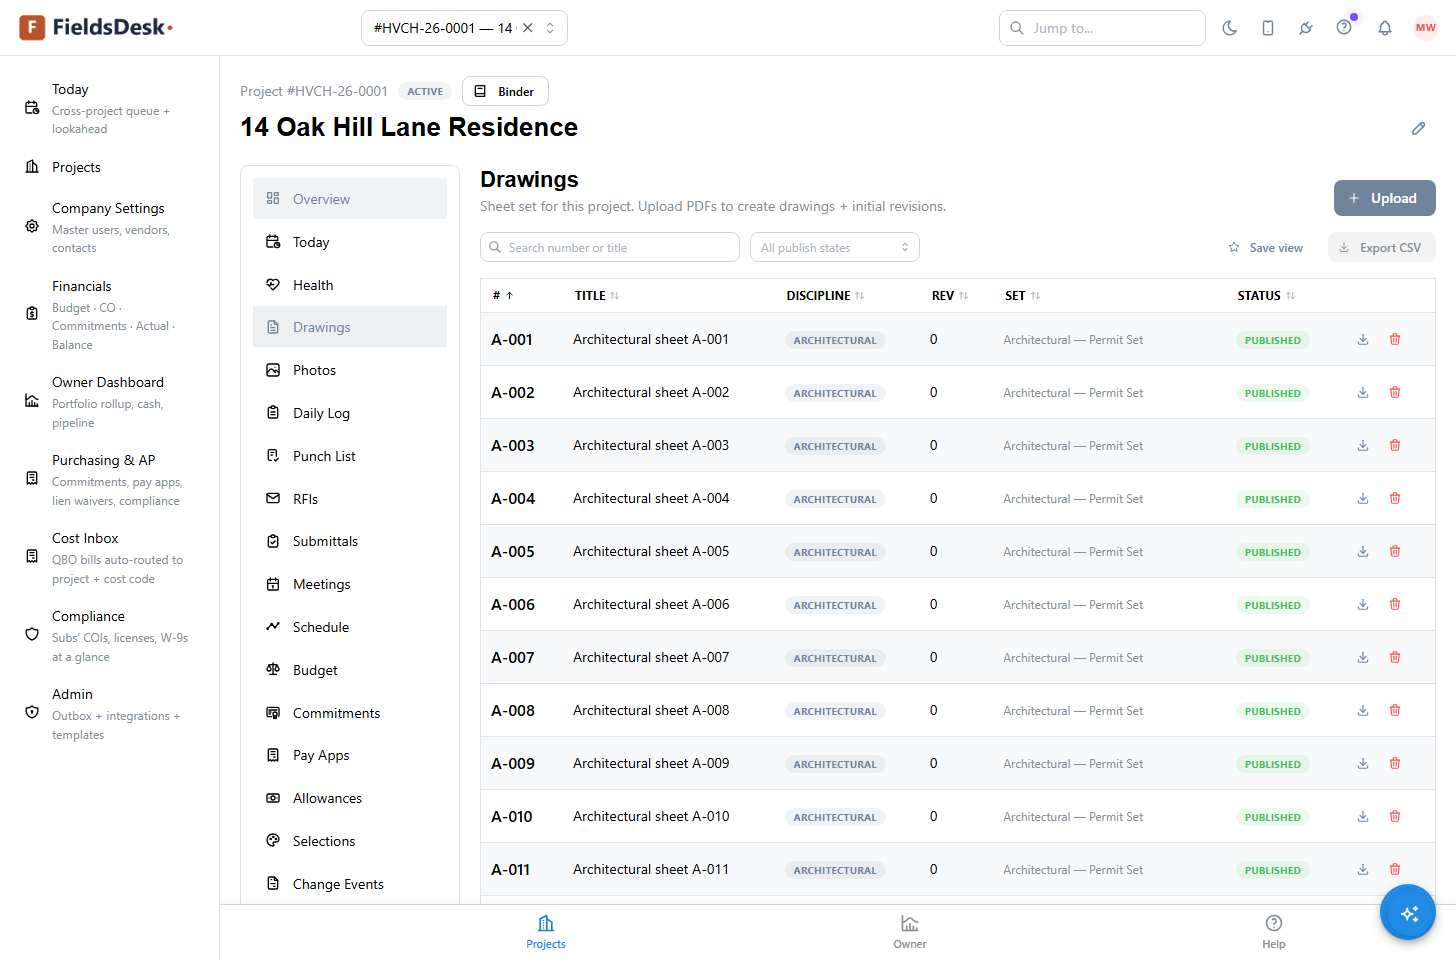
- Open DrawingsProject sidebar → Drawings. The list shows every sheet with its number, discipline, current revision, and publish state.
- Click UploadDrop the PDF. FieldsDesk asks two questions in your own words: What are you uploading? — a full set or single sheets — and Sheet numbers and titles? — read them for me, or I will type them. A full set is split into one PDF per sheet right in the browser, each becoming its own row. The reader finds the sheet number by typography (the largest text on the page) and takes titles from the set’s own drawing index; a sheet whose text was flattened to outlines is flagged so you type that row by hand. Nothing is stored until you have reviewed every proposed row.
- Pick discipline + revisionArchitectural, structural, mechanical, electrical, plumbing, civil. Revisions stamp Rev 0 on first upload, Rev 1 next, and so on.
- Publish to the fieldThe team gets an email and subs see the new revision on their portal. Old revisions stay in the archive, so an RFI from six months ago still shows the drawing the sub actually had at the time.
- Open a sheetClick the sheet number or title to open it in the markup viewer — clouds, callouts, text, calibrate and measure. It is a real link, so middle-click opens a second sheet in a new tab for side-by-side comparison.
Mark up a drawing
Add clouds, callouts, dimensions, and area takeoffs, and pin RFIs directly on the sheet.
- Open a sheetOn the Drawings list, click any sheet to open it full-screen in the markup viewer with a tool palette down the left.
- Pick a toolCloud for revision callouts, callout boxes, text, dimension, and area/perimeter takeoff.
- Calibrate first for takeoffsClick Calibrate, draw along a known length (say a 10-foot wall), enter the real measurement, and every takeoff scales correctly.
- Pin an RFIRight-click anywhere → Pin RFI. A pin lands on the spot; clicking it opens that RFI’s drawer, so the question lives right where it is on the drawing.
- Markups stay tied to the revisionThey save automatically per revision. A new revision starts clean, but you can toggle on the previous revision’s markups for context.

Project documents
A folder tree for plans, specs, permits and correspondence — upload, file, preview and share, with its own permission.
- Open DocumentsProject sidebar → Documents. The folder tree sits beside the file list on a desktop; on a phone you get one pane at a time with a breadcrumb. Documents is the general file store — sheets that need versioning and markup belong in Drawings.
- Make foldersNew folder creates one at the root or inside the folder you are in. Rename and move freely — a folder cannot be moved inside its own subtree, and deleting a folder that still holds documents or subfolders is refused with a message naming what is inside. Losing a subtree of plans to one click is not recoverable, so it cannot happen.
- Upload filesDrop files into the current folder. The file uploads first and the record is created second, so a failed transfer leaves nothing half-made — FieldsDesk refuses to register a document whose bytes never arrived.
- Preview without downloadingClick a row. PDFs, images and text render in a drawer beside the list so you keep your place in the tree. Formats a browser cannot display — an Excel workbook, a Word document, a CAD file — say so plainly and offer Download instead of a blank frame.
- Search the whole projectThe search box looks across every folder and tells you which folder each hit lives in.
- Share with the ownerTick Shared with owner on a document and it appears on the client portal’s Documents tab; the owner is emailed once that something new is there.
Note
Documents has its own permission, separate from Drawings: outside architects and engineers can upload, site supers and owners read. Set it per role under Users, roles & permissions.