Getting started
Create your account, take the 90-second tour, and stand up your first project.
What is FieldsDesk?
FieldsDesk is project-management software built specifically for high-end custom-residential general contractors.
FieldsDesk runs the whole life of a build in one place — from the pursuit you are still chasing, through RFIs and submittals with the architect, the budget and every commitment, owner change orders, pay applications, the schedule, and closeout. It is built for the way custom-home and high-end residential GCs actually work, not retrofitted from a commercial tool.
Everything is organized around projects. Each job lives in its own shell with every module attached, and you move between modules from the left sidebar. A portfolio-level Owner Dashboard rolls every project up for owners and senior PMs.
What is inside a project
- Preconstruction — pipeline / opportunities, budget & cost codes, project templates
- Information flow — RFIs, submittals, drawings with live markup
- Commitments — subcontracts & purchase orders, agreements merged from your own template
- Change management — change events priced from PCO through approved change order
- Billing — subcontractor pay requisitions and owner pay applications on standard industry forms
- Field & closeout — schedule, daily logs, selections, allowances, punch list, meeting minutes
- Owner experience — a clean owner portal and automatic weekly summaries
app.fieldsdesk.com. Private self-hosting is available for firms that need data fully on their own infrastructure — talk to us about it.Create your account
Start a free trial in a couple of minutes — no install, no credit card to look around.
- Go to the signup pageOpen app.fieldsdesk.com/signup (or click Become a founding member from the homepage). Enter your name, work email, company name, and a password.
- Confirm your companyYour company becomes its own private tenant — your data is isolated from every other firm on the platform. You are created as the first Company Admin.
- Land on your onboarding checklistAfter signup you arrive on a short checklist that walks you through branding, inviting your team, and creating your first project. A pre-loaded sample project lets you click around real data before you put your own in.
Platform tour
Orient yourself in 90 seconds — projects, modules, and the dashboard.
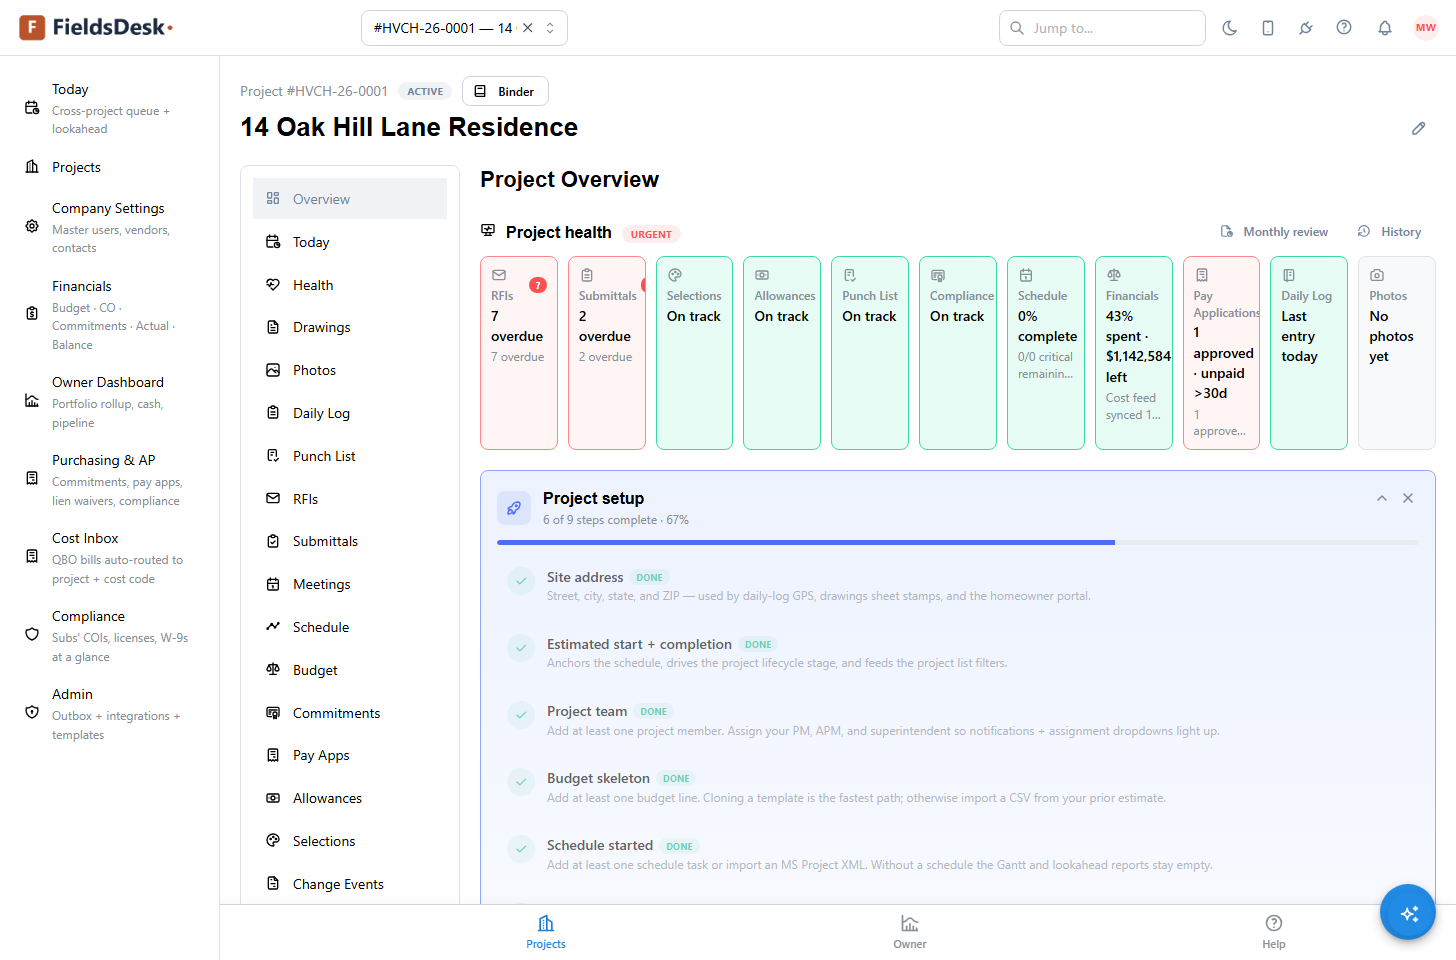
- Everything starts with projectsEach job has its own shell with every module attached. You switch between modules from the left-hand sidebar.
- The portfolio viewYour home screen is the project list. Click any card to drop into that job; the project picker in the top bar jumps you anywhere from one click.
- Inside a projectThe left sidebar lists every module — Schedule, Drawings, RFIs, Submittals, Change Events, Commitments, Pay Apps, Punch, Selections, Allowances, Meetings, Daily Log, Photos, Documents, and more. Items open in a side drawer so you keep your place.
- The Owner DashboardCompany admins get a portfolio dashboard at
/owner— top risks, cash position, pipeline, and an All Items tab where every record across every project is one click away. - Help is always one click awayClick the question-mark icon in the top bar at any time for contextual tutorials, or ask the AI Help assistant a question in plain English.
Create your first project
Stand up a project directly — useful for jobs already underway and migrations from another system.
- From the Projects list, click New ProjectThis is for jobs that did not come through the pipeline — work already in progress, internal jobs, or migrations.
- Fill in the basicsName, project number, address, sector (most of you are Residential Custom), delivery method, GMP value if known, and estimated start and finish. The GMP can wait if you do not have it yet.
- Pick a delivery methodCM-at-Risk GMP, design-build, lump sum, or time-and-materials. The choice changes which standard forms render later for pay apps and change orders.
- Optionally clone from a templateSeed cost codes, contact roles, and starter schedule tasks from a previous similar project so you start with structure instead of an empty shell.
- Save and step insideThe project lands at the top of your portfolio and you drop into its home shell, ready to add the team and build out the budget.
Invite your team and partners
Add internal staff or external partners — subs, owners, architects — to a project.
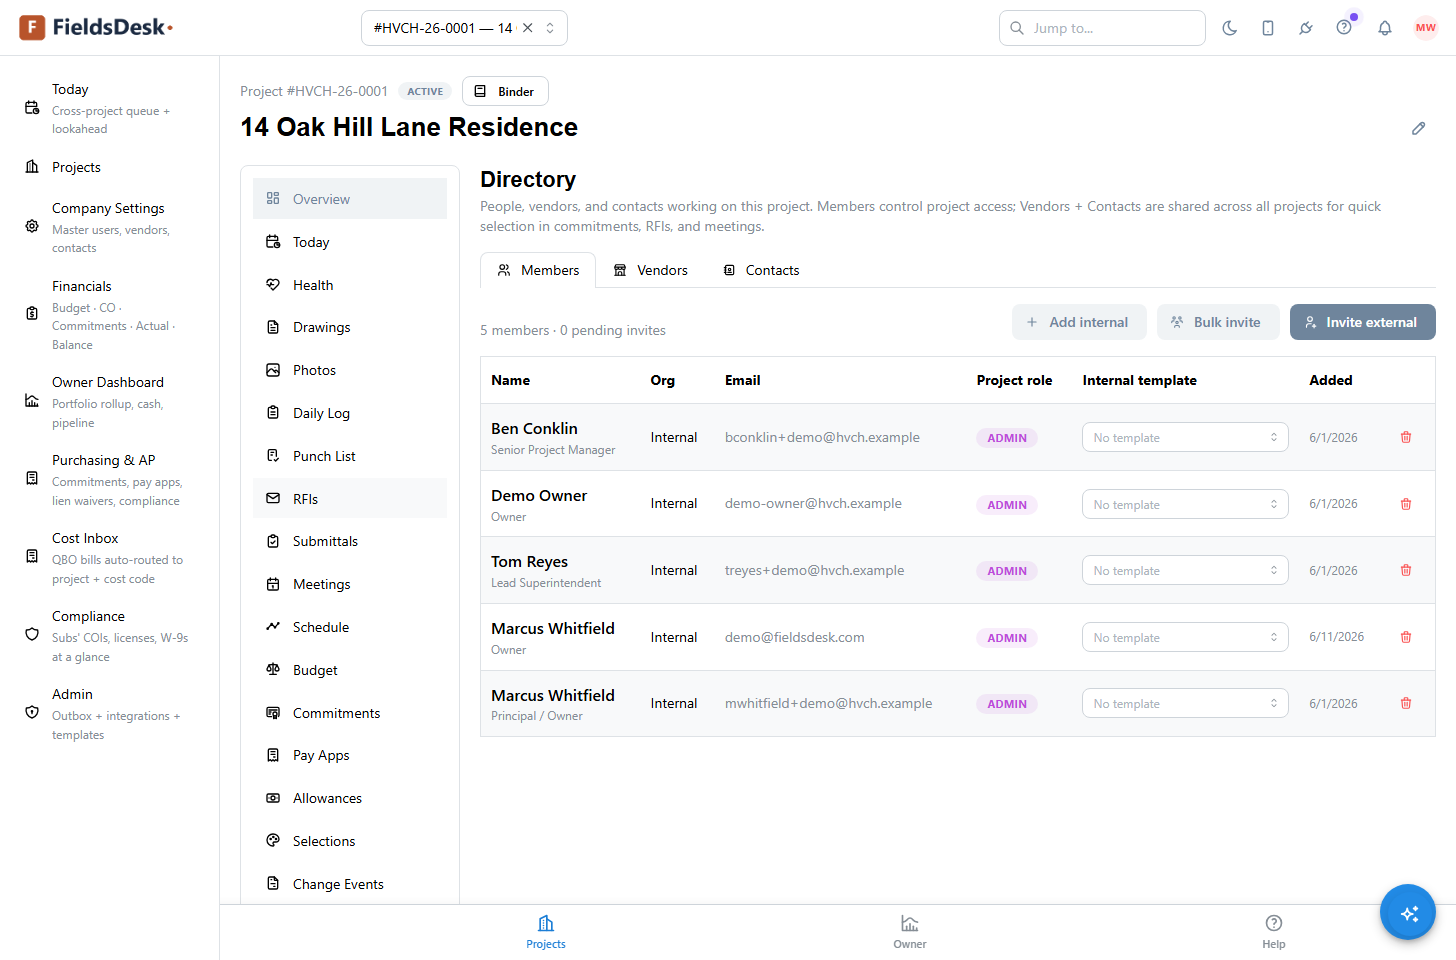
- Open the project DirectoryInside the project, sidebar → Directory. You will see Members, Vendors, and Contacts tabs. Members log in; vendors are companies; contacts are the people who work for those companies.
- Invite a memberOn the Members tab, click Invite. Enter the email and assign a role from the catalog — an internal role for your own staff or an external one for an architect, owner, or subcontractor. The role maps to enforced per-module access (see Users, roles & permissions), so the person only sees what their role grants.
- Pick distribution groupsDistribution groups control who sees what. Adding someone to “Field,” for example, means RFIs and submittals tagged for the field route to them automatically — no per-record assignment.
- Send the inviteFieldsDesk emails a branded invite: a one-time Set your password button that opens the password page directly — no login form in the way — with a temporary password underneath as the fallback for anyone who prefers the normal sign-in screen. Both expire in 7 days. Once they pick a password they land on this project, scoped to the permissions you gave them.
- Lost or expired invite? Resend itDirectory → Members → the ⋯ menu → Resend invite. That rotates the temporary password, mints a fresh link, signs out any old session and re-sends; the old link stops working. If your workspace has no email transport configured yet, the invite modal says “no email sent” and shows the password instead of implying a message went out.
- External contacts without loginsFor a sub’s estimator who only needs emails, skip Members and add them on the Contacts tab. They still receive RFIs and pay-app distributions without ever logging in.